Difference between revisions of "Australis Ultima Sector"
| Line 3: | Line 3: | ||
<!-- "WELCOME TO THE AUSTRALIS ULTIMA SECTOR" AND ARTICLE COUNT --> | <!-- "WELCOME TO THE AUSTRALIS ULTIMA SECTOR" AND ARTICLE COUNT --> | ||
<!------------------------------------------------------------------------------> | <!------------------------------------------------------------------------------> | ||
| − | |||
{| style="width: 100%; margin:4px 0 0 0; background:none; border-spacing: 0px;" | {| style="width: 100%; margin:4px 0 0 0; background:none; border-spacing: 0px;" | ||
{|style="width:100%; vertical-align:top; background:#EBEBEB;" | {|style="width:100%; vertical-align:top; background:#EBEBEB;" | ||
Revision as of 00:09, 15 May 2019
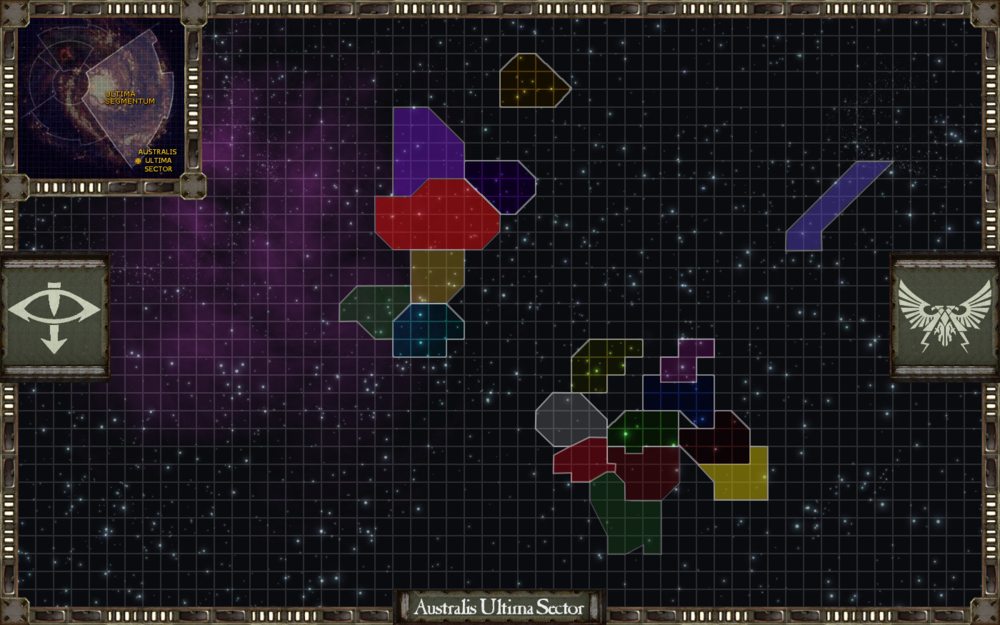
Australis Ultima Sector Map | ||||||||||||||||||||||||||||||||||||||||||||||||||||||||||||||||||||||||||||||||||||||||||||||||||||||||||||||
| ||||||||||||||||||||||||||||||||||||||||||||||||||||||||||||||||||||||||||||||||||||||||||||||||||||||||||||||
|
|
| |||||||||


